In WP Mapbox GL JS Advanced, you get a lot more controls and options.
- Directions advanced options
- Geolocate user
- Custom Filter
- Layer Filter
- Location sidebar (Store Locator)
- Marker Overlap On/Off
Directions Control
While the basic Directions Control, which comes with WP Mapbox GL JS, is fairly straightforward, we have added more complex options with WP Mapbox GL JS Advanced.
In Advanced, you can pre-fill your Directions with locations on the map of your choosing. These could be the same as your markers, or they could be totally separate from your markers. You can specify only an endpoint, or a starting point — that’s your choice!
To pre-fill directions, check the Directions control checkbox, and then check the “Pre-Fill Directions” checkbox. You’ll see two buttons appear, allowing you to set the Origin and/or the Destination.
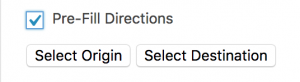
Once you click on either Origin or Destination, you will then be able to click on the map and the location of your click will be saved and pre-filled as coordinates into the Directions control box.
We are working on adding the ability for you to custom fill the Directions box with any address, too — just get in touch with us if you need this and we’ll speed up the development on it for you!
Custom Filter Control
The custom filter allows you to add categories to any shape you’ve created or added to the map, and adds a set of checkboxes on the map that can be clicked and unclicked by users to show or hide those shapes.
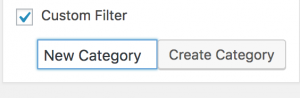
First, select “Custom Filter” in the Controls area on the right hand side of your map. A text field and a button saying “Add Category” will appear underneath. Type in the name of your first custom category and press Add Category.
Now, with the Custom Filter checkbox added, you can select any of your shapes (Marker, Fill, or Line) and you will see a dropdown appear beside the text field with the name of the shape. Select the category you want to assign to this shape in this dropdown.
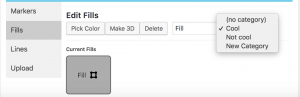
You can select different categories for different shapes as needed.
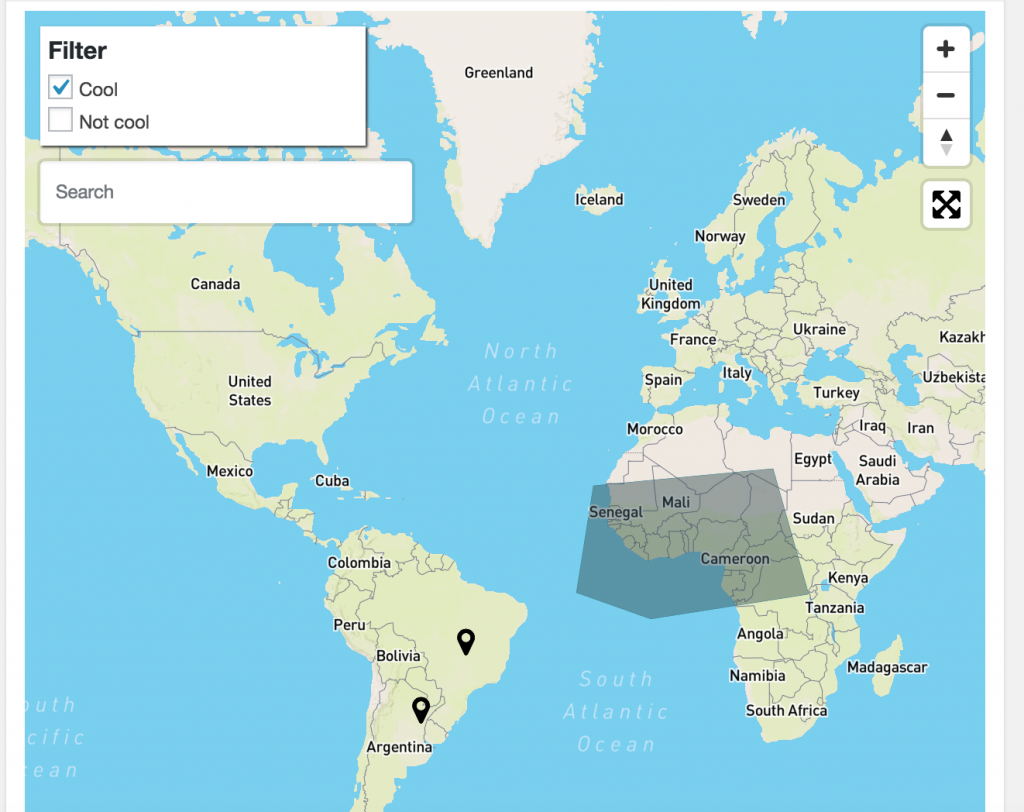
You will see an overlay appear on the map with checkboxes, and once you have assigned categories to your shapes, these checkboxes will cause the features on the map to appear and disappear as they are checked and unchecked. Whichever features you check or uncheck will show by default when your map loads.
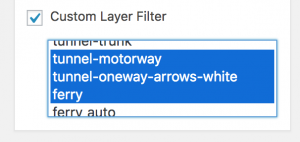
Custom Layer Filter
The custom layer filter works very similarly to the Custom Category Filter described above. The difference here is that you do not define the filters in the shapes you add in WP Mapbox GL JS Advanced. Instead, the layers inside the select box are based on your style and the layers you’ve added to your style in the Mapbox Style Studio editor.
All of the layers that you’ve added as Tilesets in Mapbox, then added to your Style, or whatever layers come by default with your style, will be listed here. This list can be a little daunting because there are sometimes hundreds of layers inside a style.
This is definitely an advanced option — so only use it if you want to allow users to toggle layers you’ve added in Mapbox Studio on and off!
You can select multiple layers by Control+Clicking on multiple items inside the select box.
This will cause a control very similar to the Custom Category Filter to appear in the top-left area of your map, with checkboxes to allow users to turn the visibility of layers on and off.
In the future, we plan to add ways that you will be able to label these in a customizable way. Please get in contact with us if you need this feature urgently, and we’ll speed up the development on it!
Location Sidebar (Store Locator)
If you want to build a store locator with Mapbox GL JS, you can do it from your edit screen. Click the checkbox for “Location Sidebar” on the right hand side of the page.
When you place your shortcode or look at your post in the front end, a sidebar will now appear that takes of 20% of the width of the map. Inside this sidebar will be a basic list of locations that you can style however you want with a little CSS!
Marker Overlap
By default, in Mapbox, overlapping “symbols” (markers and similar shapes) disappear from the map, leaving only one at a time. This makes the map look less busy — but maybe you want it to look busy and you want all the markers displayed at once. If so, click the “Advanced Options” button in the “Advanced Options” box on the right hand side of the page. You’ll see a small checkbox for “Marker Overlap”. Turn it off and on to see the difference.